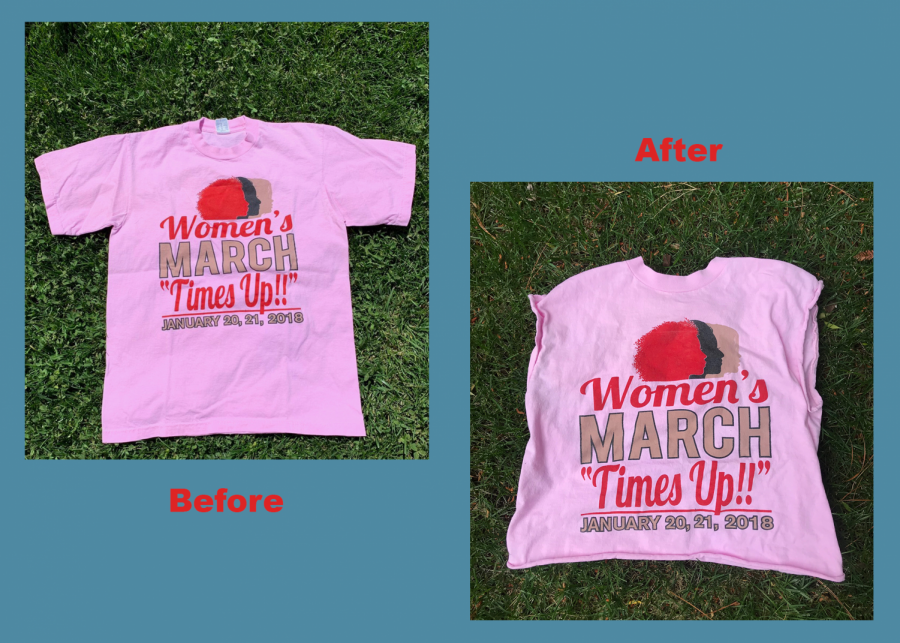
Last week, I wrote about how thrifting is a great way to find new clothing at cheap prices. This week, I will talk about how to redesign clothing items into different designs or make them fit better by cutting them.
Cutting clothes is very simple but also easy to mess up. Here are some tips to make sure everything goes as planned.
First of all, the proper tools are needed, which include a clothing item, scissors (I recommend specific scissors meant for cutting clothes, but most scissors will do), and a marker or a pen.
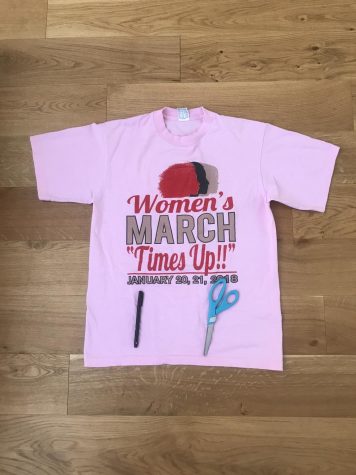
The shirt, scissors, and marker that I planned to use, laying on a flat surface.
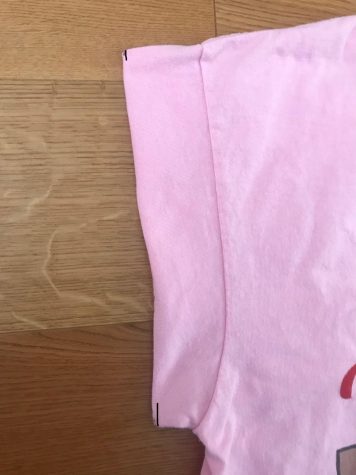
After gathering all the tools, lay the clothing item out on a flat surface and measure where the mark will be made. When measuring, leave a margin from where you want the cut to be because when you wash the item, the cloth will scrunch up.
I wrote on the shirt with distinct marks to make it easier to cut.
Once the marks are in the right place, begin to cut. Remember that cutting outside the marks will leave room for potential error.
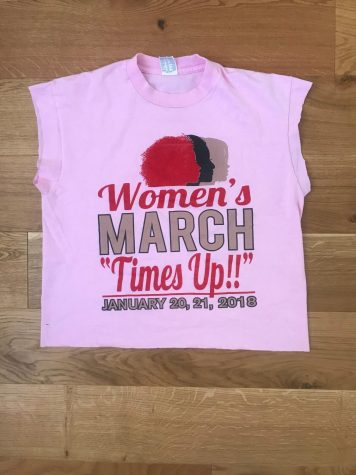
Above is a finished example. Not all the cuts are the same length, but once it goes into the washer the scrunching will even it out.
Another tip is to practice on a clothing item that does not fit anymore or one that you would not mind messing up. Practicing on another piece will help you understand how to cut clothes and make sure your next try will turn out exactly as wanted.
Don’t be afraid to try different styles while cutting your item! Whatever ends up happening, you will still have a new piece of clothing to add to your closet without spending money.